
If you’re looking for an eco-friendly alternative to commercial egg dyes, natural egg dye is a great option. This method uses plant-based ingredients like beets, turmeric, and coffee to create unique, hand-dyed eggs that are not only beautiful but also free from harsh chemicals. Many people are drawn to the idea of using natural materials for their egg dyeing projects, but they often find it challenging to achieve consistent results or explore different techniques.
The good news is that you can master various natural egg dye techniques with a little practice and patience. In this comprehensive guide, we’ll walk you through the benefits of using natural ingredients, share our favorite recipes, and provide expert tips on how to create stunning designs. By the time you finish reading this article, you’ll be able to experiment confidently with natural egg dye and produce beautiful, one-of-a-kind eggs for your Easter celebrations or everyday decor.
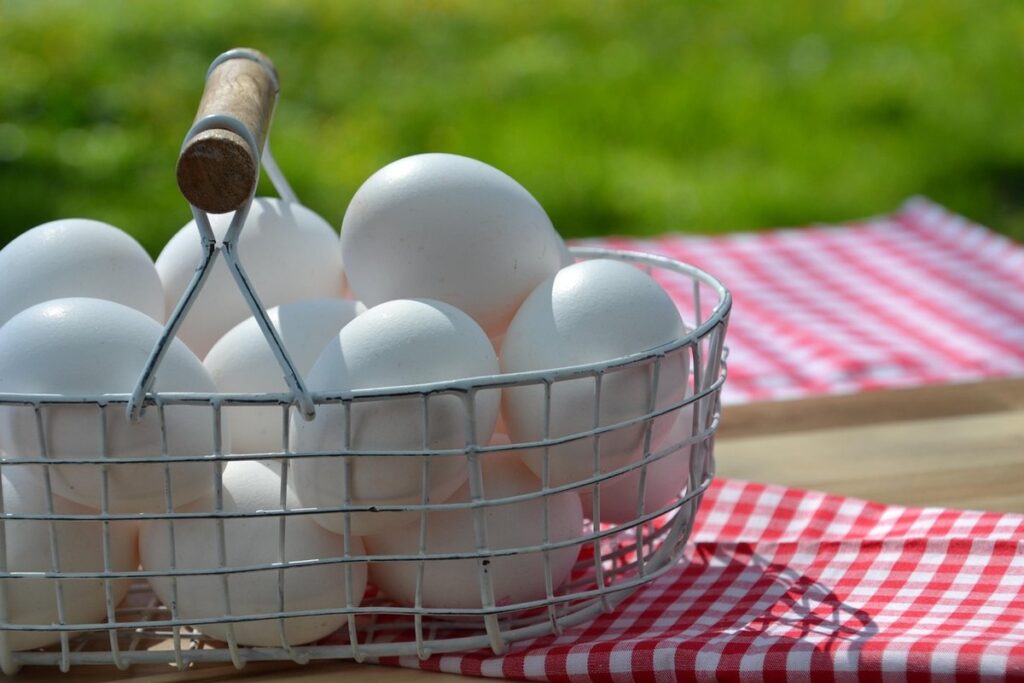
Understanding Natural Egg Dye
Natural egg dye is a delicate process that requires understanding the unique characteristics of various plants and substances. To create beautiful, long-lasting dyes, you need to grasp how they interact with egg whites and yolks.
What is Natural Egg Dye?
Natural egg dye is a centuries-old technique used to color eggs without artificial chemicals. It’s been a popular choice for Easter eggs and other decorative purposes due to its unique, soft colors and eco-friendly process. At its core, natural egg dye involves using plant-based ingredients, such as beets, turmeric, and coffee, to stain the eggshell.
The history of natural egg dye dates back to ancient cultures, where people used natural materials like pomegranate rinds, indigo plants, and leaves to create vibrant colors. These early techniques were often passed down through generations, with each family developing their own secret recipes and methods.
Today, natural egg dye has experienced a resurgence in popularity due to growing concerns about the environmental impact of commercial dyes. Many people prefer using natural ingredients not only for their eco-friendliness but also for the unique, nuanced colors they produce. To get started with natural egg dye, you’ll need to choose the right eggs and select the perfect natural dye ingredients – both of which are covered in subsequent sections of this guide.
Benefits of Natural Egg Dye
Natural egg dye offers a multitude of benefits, making it an appealing choice for artists and crafters. One significant advantage is its non-toxicity – as opposed to chemical-based dyes, natural egg dye doesn’t pose health risks when used on surfaces that will be handled or consumed.
Eco-friendliness is another key benefit, as natural ingredients are biodegradable and free from harsh chemicals. This aligns perfectly with the growing demand for sustainable practices in art and design.
A unique selling point of natural egg dye is its ability to produce one-of-a-kind designs. The unpredictable nature of natural dyes allows for an infinite range of colors and patterns, making each hand-dyed egg truly special. To achieve consistent results, it’s essential to experiment with different ratios of ingredients and techniques.
When working with natural egg dye, consider using locally sourced materials whenever possible. This not only reduces the carbon footprint but also supports local communities. Be sure to choose natural dyes that are free from synthetic additives and processed chemicals. By doing so, you can ensure a guilt-free creative process that aligns with your values.
Materials and Preparation
To get started, you’ll need a few simple materials that can be found at home, including eggs, vinegar, and various natural ingredients to create your unique dye colors.
These essentials will serve as the foundation for creating beautiful, sustainable designs on your eggs.
Choosing the Right Eggs
When selecting eggs for natural dyeing, it’s essential to consider the quality and characteristics of the eggs themselves. Freshness is crucial – use eggs that are a few days old at most, as older eggs may not take dye evenly or may crack during the process. The size of the egg can also impact the results: larger eggs generally produce more vibrant colors, but smaller eggs can create unique, mottled effects.
Choose breeds known for their strong, thick shells, such as Leghorns or Rhode Island Reds. These will withstand the dyeing process better than lighter-shelled breeds like Araucanas or Ameraucanas. Avoid using eggs with cracks or visible imperfections – these can compromise the integrity of the shell and affect the dye’s ability to penetrate.
When shopping for eggs, consider buying from local farms or producers that use humane and sustainable practices. Not only will you be supporting your community, but you’ll also get eggs that are often fresher and of higher quality. For natural egg dyeing, it’s best to stick with brown eggs – their thicker shells allow the dyes to penetrate more evenly.
Natural Dye Ingredients
Beets add a deep crimson hue to eggs and can be used to create subtle, multi-tonal effects when combined with other natural dyes. Turmeric, on the other hand, produces a vibrant yellow shade that’s perfect for creating sunny, optimistic designs. Coffee grounds can produce a range of brown tones from light beige to rich espresso, depending on the concentration of coffee and the length of dyeing time.
Onion skins create a soft, golden color when boiled in water with eggs. Spinach leaves or juice also yield a gentle greenish hue, ideal for spring-inspired patterns. These common kitchen ingredients not only offer an environmentally friendly alternative to commercial dyes but are often readily available and inexpensive. When using natural dye ingredients like these, it’s essential to note that results may vary depending on the specific type, freshness, and preparation of the ingredient.
To achieve consistent color outcomes, try boiling your chosen ingredient in water for 30 minutes to an hour before adding eggs. This helps release the pigment, ensuring a more even dye distribution. For example, beets will produce a deeper red with longer cooking times, while shorter times yield lighter pastel shades. By understanding how these natural ingredients interact with eggshells, you can create unique and beautiful designs using nothing but plants and kitchen scraps.
The Dyeing Process
Natural dyeing is a multi-step process that requires patience and attention to detail, from mixing dyes to carefully controlling temperature and time.
We’ll walk you through each crucial step of this ancient craft.
Basic Dye Techniques
To achieve beautiful natural egg dye results, it’s essential to master basic dye techniques. Preparation is key; gently boil the eggs for 10-12 minutes to create a strong, even base for the dye to adhere to. Next, prepare the dye by combining one cup of water with one tablespoon of natural dye ingredient in a saucepan.
Bring the mixture to a simmer, then reduce heat and let it steep for 30 minutes to an hour, depending on the ingredient’s intensity. Strain the dye into a clean container to remove any solids. For a basic dyeing process, submerge the eggs into the warm dye bath for about 20-25 minutes, or until the desired color is achieved.
After dyeing, carefully remove the eggs from the dye and rinse them gently with cold water to stop the dyeing process. Allow the eggs to air dry on a paper towel-lined surface, which helps prevent cracking. To enhance color retention, make sure the eggs are completely dry before storing or displaying them.
Experimenting with Different Techniques
When experimenting with different techniques to create unique patterns and designs using natural dyes, consider incorporating resist methods to achieve contrasting colors. Wax resist is a popular technique where beeswax or paraffin wax is applied to areas of the egg before dyeing. This creates a barrier that prevents the dye from penetrating, resulting in crisp white or cream-colored designs.
Shibori, an ancient Japanese technique, involves folding, twisting, and binding the eggs to create resistance areas. By carefully manipulating the folds, you can achieve intricate patterns like chevrons, spirals, and geometric shapes. For example, folding the egg into a accordion-like pleat will create a beautiful striped effect.
Folding techniques also offer endless possibilities for creating unique designs. Try folding the egg in half lengthwise or widthwise to create stripes, or use a series of small folds to create a mottled, marbled effect. Remember to gently unfold and rinse the eggs immediately after dyeing to prevent damage to the fabric-like surface created by the resist methods.
Common Natural Dye Recipes
You’ll find a collection of simple and creative natural dye recipes here, perfect for infusing your eggs with unique colors and patterns. Try your hand at making beetroot red, turmeric yellow, or indigo blue egg dyes.
Simple Single-Ingredient Dyes
When working with natural egg dye, it’s surprising how much color you can achieve with just a single ingredient. Here are some simple and effective single-ingredient dyes to get you started.
Beets create a lovely pink hue when used as a dye. Simply slice the beets thinly and boil them in water for 30 minutes to an hour. The longer they simmer, the deeper the color will be. You can also add the beet juice directly to the egg whites or yolks for a more intense color.
Turmeric is another popular single-ingredient dye that produces a bright yellow shade. Mix 1/2 teaspoon of turmeric powder with 1 cup of hot water to create the dye bath. Be sure to stir well and let it simmer for at least 10 minutes before adding the eggs.
Coffee can be used to create a range of browns and tans, depending on how long you steep it. Use strong brewed coffee or instant coffee mixed with hot water as your dye source. For a darker color, let the coffee simmer for up to an hour before adding the eggs.
Multi-Ingredient Dyes and Blending Colors
When combining multiple natural ingredients to create complex dyes, the possibilities for unique shades and hues are endless. To get started, consider pairing a strong-willed ingredient like turmeric with a milder one like blueberry juice or chamomile tea. The ratio of each ingredient can greatly impact the final result – typically 1-2 parts of the stronger ingredient to 3-4 parts of the milder one.
For example, try mixing equal parts of turmeric and beets for a vibrant pink hue, or combine 2 parts of blueberry juice with 3 parts of coffee for a deep brown shade. Experimenting with different proportions will help you develop a sense of how the ingredients interact and adjust your recipes accordingly.
Some combinations to keep in mind:
- Turmeric + pomegranate: rich red-orange
- Indigo + onion skins: navy blue-green
- Coffee + cinnamon: warm, earthy brown
Keep in mind that the natural dyes will deepen with time, so it’s essential to test them on a small scale before applying them to your eggs. This allows you to adjust the ratios and achieve the desired color without wasting materials.
Tips and Troubleshooting
You may encounter some common issues while working with natural egg dye, such as uneven color distribution or fading over time. This section addresses those concerns and provides solutions to common problems.
Common Issues and Solutions
When dyeing eggs naturally, you may encounter issues with uneven color distribution or fading. One common problem is inadequate mordanting, which can cause the dye to bleed unevenly onto the eggshell. To avoid this, make sure to add a mordant like vinegar or lemon juice to your dye mixture before application.
Another issue is using low-quality or old eggs, which may not hold color well. Fresh eggs with clean, smooth shells will yield better results.
Fading can be caused by exposure to light, heat, or moisture. To prevent fading, store your dyed eggs in a cool, dark place away from direct sunlight. You can also consider using UV-filtering glass or frames to display your hand-dyed eggs.
If you notice uneven color distribution during the dyeing process, try adjusting the temperature of the water or adding more mordant to the mixture. Experimenting with different techniques, such as layering colors or using multiple dyes, can also help achieve desired results.
Some common natural dye combinations and their effects on eggshell color include:
• Turmeric + coffee for a warm brown hue
• Beet juice + blueberries for a deep purple tone
• Spinach + onion skins for a soft green shade
Safety Precautions and Best Practices
When working with natural dyes, it’s essential to follow proper safety measures to avoid accidents and injuries. Always read the ingredient labels carefully and research the potential risks associated with each dye. Some ingredients, like turmeric and beets, can stain skin and clothing, so wear protective gloves and old clothes when handling them.
Ensure good ventilation in your workspace by opening windows or using a fan to circulate air. This is particularly important when working with strong-smelling ingredients like onions and garlic. Avoid inhaling the fumes of these ingredients, as they can cause respiratory issues.
Proper waste disposal is also crucial. Dispose of unused dye ingredients and eggshells responsibly, and make sure to rinse your workspace thoroughly after each use. When washing your hands, use soap and warm water to remove any residue from the dyes. Avoid using harsh chemicals or abrasive cleaners, as they can damage your skin.
To minimize spills and stains, work on a protected surface like a tablecloth or a plastic sheet. Have rags and paper towels handy to clean up any accidents promptly. By following these simple safety precautions, you’ll be able to enjoy the creative process of natural egg dyeing while minimizing risks.
Advanced Applications and Projects
As you continue to experiment with natural egg dye, let’s explore some inspiring projects that will take your skills to the next level. From intricate designs to beautiful ombre effects.
Using Natural Egg Dye in Art and Design
Natural egg dye can be a versatile medium for art and design projects. In addition to creating beautiful, one-of-a-kind eggs, you can also use natural egg dye to decorate paper, fabric, and other materials. For example, you can use a mixture of turmeric and coffee to create a warm, earthy tone on cotton or linen.
You can also experiment with layering different colors and techniques to achieve unique textures and effects. Try using a combination of natural dyes like pomegranate juice and indigo to create intricate patterns on silk or wool.
In fashion design, you can use natural egg dye to create beautiful, hand-dyed fabrics for garments, accessories, or home decor items. Consider adding a few drops of essential oil to the dye mixture for a subtle scent. When working with natural dyes, keep in mind that colorfastness may vary depending on the material and technique used.
To achieve consistent results, it’s essential to test your dyes on a small scale before applying them to larger projects. This will help you refine your techniques and make adjustments as needed. By exploring the creative possibilities of natural egg dye, you can add an extra layer of meaning and significance to your art and design projects.
Preserving and Displaying Your Hand-Dyed Eggs
To preserve and display your hand-dyed eggs as a beautiful piece of art or home decor, consider using a clear coat or varnish to protect the dye from fading. This will also make cleaning easier and prevent oils from your skin from affecting the color. You can apply multiple thin coats, allowing each layer to dry before adding the next.
For displaying, think about the overall aesthetic you want to create in your space. Hand-dyed eggs can be showcased individually on a shelf or grouped together in a decorative bowl or vase. Consider pairing them with other natural elements like branches, pinecones, or dried flowers for added visual interest.
If you plan to use your hand-dyed eggs as ornaments, consider using a sturdy wire or string to hang them from a branch or mobile. You can also incorporate them into wreaths or garlands for a seasonal touch. When deciding on display arrangements, keep in mind the shape and size of the eggs, as well as the dominant colors used in the dyeing process.
For long-term preservation, store your hand-dyed eggs away from direct sunlight to prevent fading. You can also consider storing them in an acid-free tissue or cloth to further protect the color.
Frequently Asked Questions
Can I use natural egg dye on hard-boiled eggs?
Yes, but the results may vary due to the different porosity of hard-boiled eggs compared to raw ones. The natural dyes might not penetrate as evenly or deeply into the eggshell.
What if I accidentally mix up the dye ingredients and create an unexpected color? Can I still use it?
It’s possible to salvage the situation, but it depends on the specific combination you created. If the resulting color is unique and desirable, you can still use it, but be aware that the outcome may not be what you intended.
How do I preserve my hand-dyed eggs for long-term display without them fading or losing their vibrancy?
To maintain the colors of your natural egg dye creations, store them in a cool, dry place away from direct sunlight. Avoid displaying them near heat sources or humid environments. You can also coat the eggs with a clear varnish to protect the dyes.
Can I use natural egg dye on objects other than eggs, like fabric or paper?
While it’s technically possible to experiment with applying natural dyes to non-egg surfaces, the results may not be consistent due to differences in material porosity and dye absorption. However, you can try using natural dyes for creating unique patterns on fabrics, but expect varying degrees of success.
What if I want to create a specific shade or hue that’s not achievable with single-ingredient dyes? Can I blend multiple colors safely?
Yes, blending different natural dyes is a great way to achieve unique shades and hues. Just ensure you follow proper safety precautions when mixing ingredients, such as wearing gloves and working in a well-ventilated area.

