
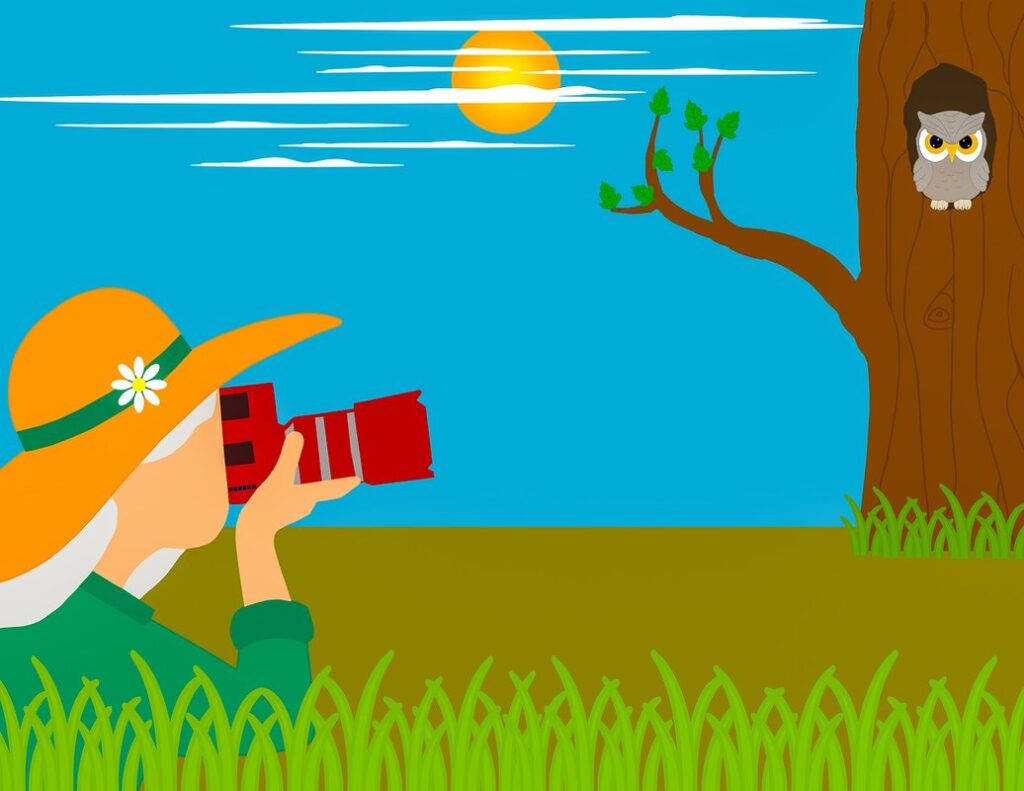
Drawing from life is often considered the ultimate skill for artists, but for many people, it can be intimidating to capture the world around us in realistic form. One way to build confidence and accuracy is by learning camera drawing techniques, which allow you to translate what you see through a lens into compelling drawings. Effective perspective, control over angles, and thoughtful composition are all essential elements of this process. By mastering these skills, you can create drawings that are not only visually striking but also remarkably realistic. In this comprehensive guide, we’ll explore the fundamentals of camera drawing, covering everything from setting up your equipment to experimenting with different techniques for capturing dynamic scenes. By the time you finish reading, you’ll be able to confidently apply these skills in your own practice, taking your art to a new level of sophistication and realism.
Understanding Camera Perspective
Camera perspective is a crucial aspect of camera drawing, allowing you to create convincing and realistic scenes. Let’s explore how to achieve different camera angles and perspectives in your drawings.
What is Camera Perspective?
Camera perspective is a fundamental concept in drawing that helps artists create realistic and immersive scenes. At its core, camera perspective involves using visual cues to create the illusion of depth on a two-dimensional surface. One key element of camera perspective is the vanishing point, an imaginary point on the horizon line where lines converge as they recede into the distance.
The horizon line itself is also crucial in establishing camera perspective. It’s typically drawn at eye level and serves as a visual anchor for the composition. When drawing objects or features that are far away, artists use atmospheric perspective to create a sense of depth. This can be achieved by softening colors, reducing contrast, and adding haze or mist.
Understanding these basic concepts is essential for creating convincing camera drawings. By carefully placing vanishing points, setting the horizon line, and applying atmospheric perspective, artists can create scenes that feel expansive and immersive. For example, when drawing a landscape, placing a prominent feature like a tree in the foreground while keeping more distant features fainter creates a sense of depth that draws the viewer’s eye into the scene.
Types of Camera Angles
A camera angle can greatly impact the mood and atmosphere of a scene. There are three primary types: low-angle, high-angle, and Dutch angle. A low-angle shot is often used to convey power or grandeur. To achieve this effect in drawing, tilt your camera upward slightly, placing the subject’s head or shoulders at the top third of the frame. For example, imagine drawing a heroic figure standing tall, their eyes looking directly into the distance.
In contrast, high-angle shots can create a sense of vulnerability or intimacy. You can achieve this by tilting your camera downward or using a higher vantage point in your composition. Think of drawing a character sitting on a park bench, lost in thought, with the cityscape stretching out behind them.
A Dutch angle, also known as a canted shot, is used to convey unease or tension. To draw this type of scene, intentionally tilt your camera to one side, making sure that at least one edge of the frame is not parallel to the horizon. This will create a sense of disorientation in the viewer. When drawing a Dutch angle, consider using bold lines and dynamic gestures to capture the energy and movement of the scene.
Setting Up Your Drawing Space
To create a comfortable and efficient drawing space, you’ll want to dedicate a specific area of your home for camera drawing practice and projects. This dedicated space will help you stay focused and inspired throughout your learning journey.
Creating a Proportional Grid
To create a proportional grid, start by selecting a measuring tool that fits your camera’s frame. A flexible ruler is ideal for most cameras, but you may need to use calipers if your camera has an unusually wide or narrow aspect ratio. Measure the length and width of your frame in centimeters or inches, depending on your preference. Divide both measurements by the same number (e.g., 4) to create a grid with equal divisions.
When setting up your reference system, place a small mark at each intersection point where the divisions meet. This will help you keep track of proportions during drawing. To avoid common mistakes, double-check that your measuring tool is calibrated correctly and that you’re using the same unit of measurement throughout your process. For example, if you measure in centimeters, use centimeter-based units for all calculations.
Avoid using a grid with too many divisions; it’s better to have fewer, more accurate markings than numerous incorrect ones. Keep your reference system visible while drawing, but out of focus – this will allow you to draw accurately without being distracted by the grid itself.
Using Reference Images Effectively
Effective use of reference images is crucial to camera drawing. These visual aids help you capture and render the intricate details of a scene with accuracy. However, not all references are created equal. Two-dimensional (2D) references, such as photographs or sketches, provide a flat perspective on a subject. On the other hand, three-dimensional (3D) references, like maquettes or 3D models, offer a more immersive and detailed view.
When selecting reference images, consider what aspect of the scene you’re trying to capture. If you’re drawing an interior space, use 2D references to focus on specific architectural details. For exterior scenes, 3D references can help you render textures and shading accurately. To create your own reference materials, experiment with photogrammetry or 3D scanning techniques using software like Agisoft Metashape or SketchUp. Alternatively, take photographs of real-world objects and environments, then use image editing software to manipulate them into useful references.
Drawing Techniques for Realism
Mastering realism in camera drawing requires a solid foundation in techniques that bring depth and dimensionality to your work, starting with subtle shading and texture details. Let’s explore essential methods for capturing realistic effects on paper.
Basic Shapes and Forms
When working on camera drawings, it’s essential to break down complex subjects into their basic shapes and forms. Start by identifying the primary volumes: cylinders, spheres, and rectangles. These simple shapes can be combined to capture the proportions and dimensions of a subject.
For example, when drawing a chair, identify the cylindrical legs, spherical joints, and rectangular seat. Measure the proportions carefully, considering the relationships between these basic shapes. To ensure accuracy, focus on one shape at a time, rather than trying to capture all details simultaneously.
Aim for realistic proportions by using simple measurements, such as counting the number of segments on a cylinder or dividing a rectangle into equal parts. Pay attention to subtle variations in form and texture – for instance, the way a sphere’s surface curves or the tapering of a cylindrical shape.
By understanding and accurately capturing basic shapes and forms, you’ll be able to create more realistic and detailed camera drawings. Practice combining these fundamental elements to develop your skills and improve the accuracy of your work.
Using Values and Edges
Values and edges are the building blocks of realism in camera drawing. Values refer to the light and dark areas within an image, while edges denote the transitions between these values, whether hard or soft lines. To create a convincing representation of reality, it’s essential to balance and control both.
A simple exercise for practicing value control is to observe the relationship between shadows and highlights on a still life setup. Place a small object in front of a bright light source and adjust the exposure to capture a range of values from deep shadows to blown-out highlights. Study how the subtle shifts in value create depth and dimensionality.
In terms of edge control, consider the edges within an image as either sharp or soft. Sharp edges occur where two distinct values meet, such as the rim of a shadow against a bright background. Soft edges, on the other hand, can be seen at transitions like the fade from light to dark in a misty atmosphere. To practice edge control, try sketching the same subject multiple times with varying degrees of detail and sharpness.
Advanced Techniques and Applications
Now that you’ve mastered the fundamentals of camera drawing, it’s time to take your skills to the next level by exploring more complex techniques and innovative applications. We’ll show you how to apply these advanced methods in various contexts.
Atmospheric Perspective and Depth Cueing
Atmospheric perspective is a powerful tool for creating depth and distance in camera drawings. By using haze, fog, and atmospheric effects, you can create a sense of depth without relying on traditional techniques like linear perspective or overlapping forms. To achieve this, focus on subtly gradating values from light to dark, with the horizon often appearing as a darker value.
For example, consider a drawing of a distant mountain range. Rather than rendering every rock and tree in minute detail, use atmospheric effects to suggest depth. A soft haze can be applied to the background, with the mountains’ edges becoming increasingly indistinct as they recede into the distance. This not only creates a sense of depth but also adds atmosphere and mood to the scene.
To add even more subtlety to your drawings, experiment with different types of atmospheric effects. A light mist can create a sense of mystery, while a dense fog can add a sense of foreboding. By mastering these techniques, you’ll be able to draw scenes that transport viewers into a new world.
Drawing Movement and Action
To convey movement and action through camera drawing, you need to think dynamically. Start by considering the composition of your shot. A dynamic composition can create a sense of energy and motion, even if the subject is stationary. This might involve placing the main element off-center or using leading lines to draw the viewer’s eye.
Gesture drawing is another essential technique for capturing movement. It involves quickly sketching the overall pose and gesture of a figure, rather than focusing on precise details. By doing so, you can convey the energy and dynamism of the subject in motion. Practice gesture drawing with short poses or moving subjects to develop your skills.
Kinetic energy is also key to capturing action through camera drawing. This involves conveying the sense of movement and tension within a scene. To achieve this, pay attention to body language, facial expressions, and environmental factors such as lighting and background. Consider using bold lines, expressive brushstrokes, or exaggerated poses to emphasize the kinetic energy of your subject.
Common Challenges and Solutions
As you master the art of camera drawing, you’ll inevitably encounter obstacles that can hinder your progress, so let’s tackle some common challenges and practical solutions to overcome them.
Overcoming Proportion and Measurement Errors
When taking measurements for camera drawing, it’s essential to use the correct units. This might seem obvious, but mistakes can be costly in terms of time and accuracy. For instance, using inches instead of feet or centimeters can lead to a distorted representation of the subject. To avoid this, double-check your measurement tools and settings before beginning.
Another common error is forgetting to account for perspective distortions, which can significantly impact proportion and scale. This is particularly relevant when drawing objects that are far away from the camera’s focal point. As an example, a building’s windows may appear smaller than they actually are due to perspective compression. To compensate for this, you can use techniques like measuring the object’s height-to-width ratio or employing grid-based methods.
In your drawing software or medium of choice, check if there’s an option to toggle perspective correction or adjust the vanishing point settings. This can help minimize errors and ensure more accurate measurements.
Troubleshooting Composition Issues
When dealing with composition issues, it’s essential to identify what specifically isn’t working. Too much negative space can make a drawing feel empty and unengaging, while an imbalanced layout can be visually jarring. To address these concerns, start by evaluating the subject itself – is there something inherently symmetrical or balanced about the scene? If not, experiment with rearranging elements to create a more dynamic composition.
Consider dividing your drawing into thirds both horizontally and vertically using visual guidelines. Place important elements along these lines to create a sense of balance. For example, in a landscape drawing, you might position the horizon line at the top third or middle third to create visual interest.
Revising your composition is not always about making drastic changes – sometimes, it’s as simple as adjusting the placement of a single element. Experiment with moving objects slightly and observe how it affects the overall balance of the image. Remember that revision is an iterative process; be patient and willing to make adjustments until you achieve a cohesive, visually appealing drawing.
Practice Exercises and Projects
Now that you’ve learned the basics of camera drawing, it’s time to put your skills into practice with exercises and projects designed to help you improve your technique. Let’s get started!
Assignments and Prompts for Beginners
Beginners should start by practicing basic shapes and forms. One exercise is to draw a cube using only straight lines and right angles. This helps develop accuracy and attention to detail. Another is to draw a simple sphere, which requires understanding curvature and rounded edges.
Next, practice drawing different values – light, medium, and dark – by observing the camera’s lens flares or shadows on a plain surface. You can also create your own value scale using paper or cardboard strips with varying shades of gray paint. Practice rendering these values accurately in simple still-life compositions.
Finally, work on edges: hard, soft, and ambiguous. Observe how edges are formed when light hits different textures and shapes. Practice drawing edges with various tools, such as pencils, pens, and brushes. Start by rendering simple shapes like spheres or cylinders, then move to more complex subjects.
Remember, the goal is not to create realistic drawings but to develop your observation skills and understanding of camera drawing principles. By focusing on basic shapes, values, and edges, you’ll build a solid foundation for future practice exercises and projects.
Advanced Projects: Telling Stories with Camera Drawing
For more advanced projects, challenge yourself to tell stories through your camera drawings. This can be achieved by incorporating narrative elements and experimenting with composition techniques. Start by considering what story you want to convey – is it a moment from everyday life, a memory from childhood, or an imaginary scenario? Think about the emotions and atmosphere you want to evoke.
To add narrative depth, focus on capturing subtle expressions and body language in your subjects. Pay attention to posture, facial cues, and eye direction, as these can reveal character traits and backstory. For instance, a subject with their head bowed and shoulders slumped may convey sadness or defeat, while an individual with their arms crossed and eyes cast downward may indicate skepticism.
When it comes to composition, experiment with leading lines, framing devices, and negative space to create visually appealing scenes that guide the viewer’s attention. Consider using environmental details like architecture, natural elements, or props to add context and depth to your story. By thoughtfully incorporating these elements, you can craft engaging compositions that capture the essence of your narrative.
Conclusion and Next Steps
Now that you’ve mastered the basics of camera drawing, let’s wrap up our comprehensive guide and explore next steps to take your skills to the next level. We’ll discuss how to apply what you’ve learned in practical ways.
Recap of Key Concepts
To recap, a camera drawing is a detailed sketch of an object’s perspective and proportions. This involves accurately capturing the relationships between an image’s key points, such as vanishing points, horizon lines, and center of interest. You should be able to identify these elements and apply basic perspective rules in your drawings.
Understanding light sources and shading is crucial for adding depth and volume to your camera drawings. Learn how to create smooth transitions from shadows to highlights using the right materials or digital tools. Practice observing the way light interacts with various textures, shapes, and forms.
Intermediate artists should focus on refining their understanding of atmospheric perspective and context clues. This includes accurately depicting distant objects’ reduced contrast and color saturation, as well as incorporating contextual details that enhance your drawing’s believability.
Final Tips and Encouragement
Drawing is a journey, and like any skill, it requires patience and dedication. As you continue to practice camera drawing, remember that every session brings new opportunities for growth. You’ll encounter challenges, but don’t be discouraged by mistakes – they’re an essential part of the learning process.
To stay motivated, set achievable goals for each practice session. For example, focus on mastering a specific technique or committing to a certain number of drawings within a timeframe. Celebrate your progress, no matter how small it may seem, as this will help you stay engaged and excited about the process.
As you continue to improve, remember that camera drawing is not just about technical proficiency; it’s also about developing your observational skills. Practice observing the world around you – the shapes, textures, and patterns of everyday objects. This will translate into more accurate and detailed drawings in time. With persistence and a willingness to learn, you’ll eventually see significant improvements in your art.
Frequently Asked Questions
How can I apply camera drawing techniques to real-world subjects like architecture or landscapes?
Camera drawing techniques can be applied to various subjects, including architecture and landscapes. To effectively capture these types of scenes, study the use of lines, shapes, and forms in establishing perspective and composition. Consider creating a grid system to accurately measure and draw complex structures or environments. Additionally, experiment with different camera angles and techniques for conveying depth and distance.
What if I’m struggling to see the value and edge relationships in my drawings? Are there any exercises that can help me improve?
Yes, improving value and edge control requires practice and patience. One exercise is to create a series of drawings focusing on basic shapes and forms, gradually increasing the level of detail while paying attention to how values and edges interact. Another approach is to study the work of artists who excel in these areas, analyzing their use of light and dark, as well as hard and soft lines.
How can I achieve realistic shadows and shading when drawing with a camera perspective?
Achieving realistic shadows and shading requires an understanding of atmospheric perspective and how it affects lighting. Experiment with different techniques for conveying depth through subtle gradations in value and edge. Pay attention to the direction and intensity of light sources within your scene, using this information to inform your shading decisions.
Can I use a digital drawing tool or software instead of traditional media for camera drawing?
Yes, many digital tools can be adapted for camera drawing techniques. However, it’s essential to understand how these programs handle perspective, proportion, and other key elements that are central to the art form. Experiment with different software options to find one that suits your needs and style.
What if I’m trying to draw a scene but struggle to balance composition with accuracy in measurement? Are there any tips for handling this?
Yes, balancing composition with accurate measurement is crucial in camera drawing. Consider breaking down complex scenes into simpler components, focusing on one aspect at a time (e.g., establishing the overall perspective, then adding details). Regularly practice and review your drawings to identify areas where you can improve both composition and measurement skills.

