
Building a DIY mud kitchen for your kids is an easy and affordable way to encourage imaginative play in your backyard. Not only can this type of structure provide hours of entertainment, but it also offers a chance for your children to explore their creativity and learn important skills like cooking and responsibility. A traditional outdoor mud kitchen can be expensive, but with some basic materials and simple instructions, you can create a safe and functional space that’s perfect for kids of all ages. This article will show you how to build a DIY mud kitchen from scratch, complete with essential accessories like sinks and countertops, as well as creative decorating ideas to make it truly unique. By the end of this guide, you’ll have the skills and knowledge needed to create a one-of-a-kind outdoor play space that your kids will love.
What is a Mud Kitchen?
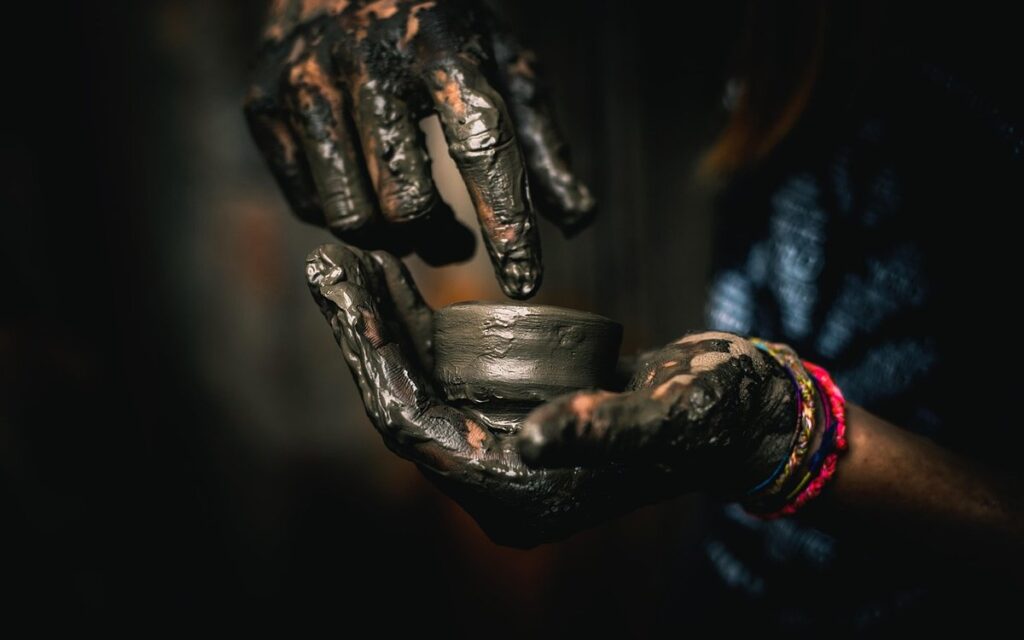
So, you’re new to mud kitchens and want to know what all the fuss is about? A mud kitchen is essentially an outdoor play space where kids can engage in imaginative play while getting dirty!
Importance of Outdoor Play
Outdoor play is essential for children’s physical and cognitive development. It allows them to explore their surroundings, test boundaries, and learn through trial and error. When left to their own devices, kids will often create their own outdoor spaces, like a mud kitchen, where they can engage in imaginative play and creativity.
A mud kitchen can be a valuable addition to your backyard or garden because it provides a designated space for children to experiment with different textures, smells, and tastes. By engaging with natural materials like mud, water, and plants, kids develop essential life skills such as problem-solving, risk-taking, and self-directed learning. A DIY mud kitchen also encourages children to interact with their environment, fostering a sense of connection to nature.
Consider incorporating natural elements into your mud kitchen design, such as reclaimed wood or stone, to create a seamless transition between the play area and the surrounding environment. This will not only enhance the aesthetic but also promote a deeper appreciation for the outdoors among children.
Types of Mud Kitchens
Mud kitchens can vary significantly depending on their design, functionality, and level of customizability. Pre-made kits are one option, often sold by outdoor toy manufacturers or online retailers. These kits usually come with a set of components, such as play kitchen surfaces, utensils, and storage bins. However, pre-made kits may lack the personal touch that comes with building a mud kitchen from scratch.
DIY plans offer another route, allowing you to design and build your own mud kitchen according to your specifications. You can find numerous free and paid DIY plans online, ranging from simple to elaborate designs. Keep in mind that building a mud kitchen requires some construction skills, but the end result is often worth the effort.
For those with limited time or resources, homemade solutions might be the most practical approach. This involves repurposing existing materials, such as an old wooden pallet or a converted planter box, to create a functional and imaginative play space for kids. Consider using natural materials like wood, stone, or plants to bring your mud kitchen to life.
Planning Your DIY Mud Kitchen Project
Before you start mixing and molding, take some time to plan out your mud kitchen’s layout and design to ensure it fits perfectly in your backyard. Consider your space and what features you want to include.
Choosing the Perfect Location
When selecting a location for your mud kitchen, there are several factors to consider. Sunlight is essential for drying out the mud and preventing it from becoming too soggy, so choose a spot that receives direct sunlight for most of the day. Consider the direction you’re facing – a south-facing wall will catch the most sunlight.
Drainage is also crucial to prevent water accumulation around the mud kitchen. Ensure the area slopes slightly away from the structure or use a French drain to redirect water flow. If your garden has heavy clay soil, you may need to create a raised bed for better drainage.
Accessibility is another important consideration. Position the mud kitchen near a pathway or entrance to make it easy for children to access without getting muddy. You can also incorporate storage nearby to keep cleaning supplies and equipment within reach. Avoid placing the mud kitchen under trees or in areas prone to flooding, as this can create maintenance headaches down the line.
Designing Your Dream Mud Kitchen
When designing your dream mud kitchen, consider the space where it will be located. A spot with partial shade is ideal to prevent cooking surfaces from drying out and cracking. Ensure there’s enough room for children to move around comfortably while cooking and playing.
Think about the size of your mud kitchen based on the number of children who will use it. A larger design can accommodate more users, but it may also require more materials and be heavier to move if needed. For a small space or a single child, a compact design is suitable.
Decide on a shape that suits your needs. Rectangular designs are popular for their ease of building and flexibility in layout. You can also consider a square or circular shape for added visual interest. When choosing features, prioritize those that promote imaginative play, such as a small sink or stove area with movable parts. Consider adding some greenery nearby to enhance the outdoor kitchen experience.
Remember, a mud kitchen’s design should be adaptable and encourage creativity in children, allowing them to explore and learn through hands-on experiences.
Building Your DIY Mud Kitchen: Materials and Tools Needed
To get started on your mud kitchen project, you’ll first need to gather all the essential materials and tools that will bring your design to life. Let’s begin by listing down what you should have in your toolkit.
Essential Materials
A basic mud kitchen requires a set of essential materials. For the frame, you’ll need wooden planks or boards, typically 2x4s or 2x6s, depending on the design and size of your kitchen. These will provide the structure for your mud kitchen’s walls, shelves, and countertops.
You’ll also need nails to assemble the frame and attach any additional features like a roof or doors. Galvanized or stainless steel nails are recommended to withstand the elements. For the roof, you can use corrugated metal sheets or wooden shingles, depending on your desired aesthetic and durability requirements.
Other necessary materials include a masonry adhesive for bonding bricks or stones, sand for creating a level surface, and paint or a sealant to protect the wood from moisture damage. Additionally, consider adding a waterproof coating to ensure the longevity of your mud kitchen. Keep in mind that you can always repurpose or upcycle materials like old pallets or wooden crates to give your mud kitchen a unique look and feel.
Tool Requirements
You’ll need a variety of tools to assemble and finish your mud kitchen. Power tools like a circular saw, drill press, or impact driver are useful for cutting and drilling into wood, but you can also use hand tools such as a handsaw, tape measure, and level.
For shaping and smoothing out the wood, a jigsaw or belt sander is helpful. Sandpaper in various grits will come in handy for final sanding before staining or painting. A power washer can be used to clean the wood surfaces, but a hose with a spray nozzle works just as well.
When it comes to tiling or applying a finish to your mud kitchen, you’ll need specialized tools like a notched trowel and spackling knife. A putty knife is also essential for spreading joint compound or caulk between tiles. Don’t forget basic hand tools like pliers, screwdrivers, and wrenches, which will come in handy during assembly and any potential repairs down the line.
If you’re using a cordless drill, be sure to charge it frequently to avoid running out of power mid-project. Consider investing in a corded drill for backup or if you prefer not to worry about battery life.
Tips for Creating a Functional and Safe Mud Kitchen
When building a mud kitchen, safety and functionality are crucial considerations that can make all the difference in creating a space that kids will love to play in. Let’s talk about essential design elements.
Safety Precautions
When building a mud kitchen, it’s essential to prioritize safety considerations to prevent accidents and injuries. One of the primary concerns is slippery surfaces, which can be hazardous for children playing around the kitchen. To address this issue, use a non-slip coating or paint on the floor and countertops to provide traction. Additionally, ensure that any drainage systems are properly installed and functioning to prevent water accumulation.
Another critical safety aspect is sharp objects, such as rocks or sticks, that may be used in the mud kitchen. Regularly inspect the area for any hazards and remove them immediately. You can also use a mesh screen or netting to cover the mud bed, preventing small objects from falling into it. Furthermore, consider using soft-edged materials, like foam or rubber, on the countertops to cushion any potential impacts.
When designing your mud kitchen, consider incorporating safety features, such as raised edges around the mud bed and secure storage for tools and materials. This will help prevent accidents and make cleanup easier. By taking these precautions, you can create a safe and enjoyable space for children to engage in creative play while using their imagination.
Maintenance and Upkeep
To maintain a functional and safe mud kitchen, regular cleaning is essential. After each play session, clear away debris and wash down surfaces with soap and water. This prevents dirt and bacteria from building up and reduces the risk of slips and falls. Pay particular attention to corners and crevices where dirt tends to accumulate.
Daily cleaning can be as simple as sweeping or hosing down the kitchen with a garden hose. For tougher stains, mix baking soda and water to create a paste that scrub away stubborn marks. Avoid using harsh chemicals or abrasive cleaners that can damage the materials used in your mud kitchen.
In addition to daily cleaning, perform a deeper clean every few weeks by scrubbing all surfaces with a stiff brush and letting them air dry. Regularly inspect the kitchen for signs of wear and tear, such as loose screws or cracks in the surface. Make any necessary repairs promptly to ensure the kitchen remains safe and secure for play. By following these simple maintenance tips, you can keep your mud kitchen looking its best while providing a fun and safe space for children to explore their creativity.
Adding Finishing Touches: Decorations and Accessories
As you’re building your DIY mud kitchen, it’s time to add some personality with decorations and accessories that bring the space to life for kids. Choose items that reflect their interests and style.
Creative Decorating Ideas
When it comes to decorating your mud kitchen, you can get creative with materials and accessories. For a natural look, consider using branches, rocks, and pinecones to create a forest-inspired backdrop for playtime. You can also repurpose old wooden crates or pallets as storage units or shelves.
Adding themed accessories is another great way to enhance the ambiance of your mud kitchen. A small tool bench with toy hammers, saws, and nails can encourage imaginative play and role-playing skills in kids. You can also hang a sign that says “Mud Kitchen” or a chalkboard for labeling ingredients and recipes.
To add a personal touch, collect items from nature like seashells, leaves, or feathers to create a decorative border around your mud kitchen area. This not only adds visual appeal but also teaches children about the importance of recycling and reusing materials. Remember, the key is to have fun and be creative with what you already have at home.
Essential Accessories
A mud kitchen is only as good as its accessories. For kids to fully immerse themselves in imaginative play, they need a variety of utensils and dishes to mimic real cooking experiences. Start with basic kitchen tools like wooden spoons, silicone whisks, and plastic spatulas. You can also add more specialized items like cookie cutters, pastry brushes, or mini colanders.
Dishes and play food are equally essential for a fun mud kitchen experience. You can create your own using air-dry clay, cardboard, or paper mache. Alternatively, you can repurpose old toys or household items to save money. Consider adding some everyday essentials like toy plates, cups, and bowls in various shapes and sizes.
For the play food aspect, think beyond just plain blocks of wood or plastic. You can create realistic food items using modeling dough, fabric paint, or even real fruits and vegetables. This will encourage your child’s creativity while allowing them to experiment with different flavors and textures in a controlled environment.
Bringing Your DIY Mud Kitchen to Life: Tips and Tricks
Now that you have your mud kitchen built, it’s time to add some personality and functionality to make it a beloved outdoor space for kids. Let’s explore ways to bring out its full potential.
Troubleshooting Common Issues
Uneven surfaces can be a common issue when building a mud kitchen. To address this problem, ensure that your ground is level and compact before commencing construction. You can use a spirit level to check for any deviations from the horizontal plane. If necessary, lay down a layer of compacted gravel or sand to provide a stable base.
Structural issues may arise if the weight-bearing elements, such as the legs or frame, are not sturdy enough. Verify that your chosen materials can support the expected load, including the weight of children and any additional features like shelving or countertops. You might consider adding extra bracing or supports to ensure stability, especially if you’re working with a large or heavy design.
When building your mud kitchen, pay close attention to drainage considerations. Water accumulation beneath the structure can lead to structural problems or even damage nearby plants. Make sure to include a slight incline in the design to direct water away from the build and prevent moisture buildup.
Encouraging Imaginative Play
When children engage with a mud kitchen, they’re not just playing – they’re developing essential skills like problem-solving, creativity, and critical thinking. To encourage imaginative play and creative thinking, try incorporating storytelling and role-playing activities into your child’s experience.
Use everyday objects to create props for role-play scenarios. For example, you can turn a wooden spoon into a microphone or use a cardboard box as a kitchen counter. Encourage your child to take on different roles – chef, customer, waiter – and experiment with different storylines. You can also make up simple recipes together, using mud as the main ingredient.
To take it further, create a “menu” of fictional dishes for your child’s restaurant or café. They can draw pictures or write descriptions of their creations, using this opportunity to develop their writing skills. By embracing imagination and creativity, you’ll be helping your child build confidence in their ability to think outside the box – quite literally!
Frequently Asked Questions
What if I don’t have a lot of space in my backyard for a mud kitchen?
Yes, it’s possible to build a mud kitchen in a small space. Consider using compact designs or building the structure against a wall to save floor space. You can also repurpose an old pallet or shelf to create a mini mud kitchen.
How do I handle uneven terrain when building my mud kitchen on a slope?
You’ll need to assess the slope’s steepness and adjust your design accordingly. Consider using adjustable feet or shims to level the structure, or even install a retaining wall to create a flat surface. Make sure to consult local building codes if necessary.
Can I use reclaimed materials for my DIY mud kitchen project?
Yes, using reclaimed materials is an excellent idea! Not only will it reduce waste and save you money, but it’ll also give your mud kitchen a unique character. Just make sure to clean and disinfect any used materials before assembling the structure.
What if my child accidentally damages or breaks something in their play?
It’s not uncommon for kids to get carried away with imaginative play! To minimize damage, consider building the mud kitchen with easy-to-clean materials like stainless steel or ceramic. Also, make sure to teach your child about respecting and caring for their belongings.
How can I encourage my toddler to use their imagination and creativity in their play without getting frustrated with messes?
This is a common concern for many parents! To foster creativity while minimizing mess, try setting aside dedicated time for messy play (like arts and crafts or outdoor exploration) and establish clear boundaries. Encourage your child’s imagination by engaging in play together and offering open-ended questions to spark their creative thinking.

