
Drawing with colored pencils is an art form that requires patience, skill, and practice to master. With so many types of colored pencils available, from wax-based to oil-based, it’s essential to understand their unique characteristics and how they can be used to achieve realistic results. Whether you’re a seasoned artist or just starting out, mastering the techniques of drawing with colored pencils is crucial for adding depth and dimension to your work. This comprehensive guide will walk you through the fundamentals of drawing with colored pencils, including various techniques and advanced effects that will help take your artwork to the next level. By the end of this article, you’ll be equipped with the knowledge and skills necessary to create stunning, realistic drawings using colored pencils.
Choosing the Right Tools
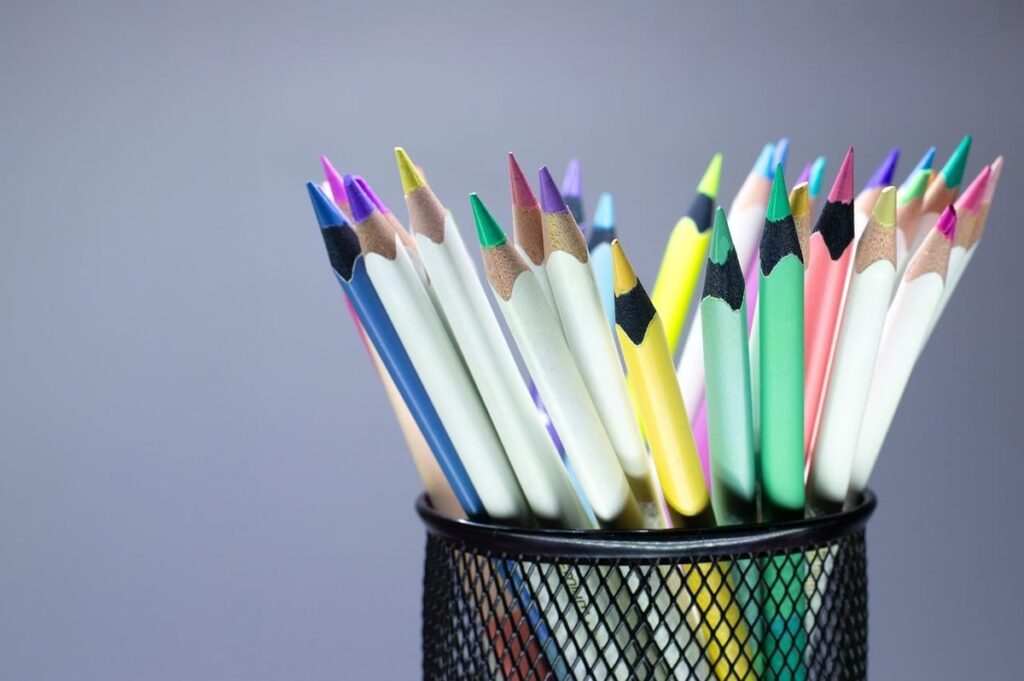
When it comes to drawing with colored pencils, selecting the right tools is crucial to achieving your desired effects and colors. You’ll want to choose a set that suits your style and skill level.
Types of Colored Pencils
Colored pencils come in various types, each with its own unique characteristics and performance. Wax-based colored pencils are the most common type, made from a combination of pigment, wax, and other additives. They offer good lightfastness and blending capabilities but can be prone to smudging if not handled carefully.
Oil-based colored pencils, on the other hand, contain a higher percentage of oil than wax, resulting in a more vibrant and intense color. However, they tend to be more expensive and may require special care when storing. Some artists prefer their ability to produce subtle shifts in tone and texture but others find them too oily for precise work.
Water-soluble colored pencils are a more recent innovation, designed to dissolve easily with water to create transparent washes or layered colors. They offer an interesting alternative for those looking to expand their techniques beyond traditional layering but can be less lightfast than other options. When choosing between these types, consider the specific effects you want to achieve and your personal working style.
Pencil Sharpeners and Accessories
A sharp pencil is essential for smooth, even color application. However, many artists overlook the importance of proper sharpening techniques and tools. A dull pencil can lead to a range of problems, including uneven coloring, skipped strokes, and even damage to the paper.
Investing in a good-quality pencil sharpener is crucial. Manual or electric, these devices help maintain a precise point on your pencils, ensuring consistent results. Look for sharpeners with adjustable guides to accommodate various pencil sizes. A sharpener’s burr adjustment feature can also make a significant difference, allowing you to fine-tune the angle and pressure.
In addition to sharpening tools, several accessories are indispensable for achieving professional-looking results. Erasers, for instance, help correct mistakes and smudge unwanted marks. Blending stumps and tortillons work together to merge colors seamlessly. Solvents like blending solvents or fixative can be used to layer colors and achieve specific effects. When working with colored pencils, it’s essential to have these tools at hand to refine your work and enhance the overall finish of your drawings.
Understanding Color Theory
Color theory is a fundamental aspect of creating visually appealing artwork, and grasping its basics will help you achieve harmony and balance in your colored pencil drawings. Let’s start by exploring the key principles of color theory.
The Basics of Color Mixing
When working with colored pencils, understanding color theory is essential to achieve realistic and nuanced results. At its core, color theory revolves around primary and secondary colors. Primary colors – red, yellow, and blue – cannot be created by mixing other colors together, while secondary colors like green, orange, and violet are derived from combining two primaries in different ratios.
The warm and cool color spectrum is another fundamental concept. Warm colors tend to evoke a sense of energy or warmth, with hues like burnt orange and golden yellow. Cool colors, on the other hand, have a calming effect, often featuring shades of blue, green, and purple. When mixing colors, it’s essential to balance warm and cool tones to create visually appealing pieces.
The color wheel is a circular diagram illustrating how colors relate to each other. It shows how primary colors blend into secondary ones and how they interact to form analogous or complementary pairs. As you practice drawing with colored pencils, familiarize yourself with the color wheel to better understand which colors to combine for specific effects. Start by practicing simple mixing techniques using primary colors, then gradually move on to more complex combinations involving secondary and tertiary hues.
Tints, Shades, and Tones
When working with colored pencils, it’s essential to understand how to create tints, shades, and tones. These nuances can add depth and interest to your drawings. Tints are created by adding white or light-colored layers over a base color, resulting in a lighter version of the original hue.
To produce a gentle blue tint, for instance, you might layer a pale blue pencil over a slightly darker blue underlayer. This process allows you to achieve subtle shifts in value and create soft, gradient-like effects. Shades are created by adding layers of darker colors or using rich pigments, which can be built up gradually to achieve deep, saturated tones.
Tones, on the other hand, are created by reducing the saturation of a color. You can do this by layering over the original color with a small amount of white or an opaque medium, or by mixing in a touch of black or gray to mute the hue. By adjusting the proportions of light and dark layers, you can achieve a range of tones that add nuance to your drawings without sacrificing detail or texture.
Basic Drawing Techniques
Mastering basic drawing techniques is essential for creating stunning colored pencil artwork, and it all starts with understanding how to layer colors and blend edges effectively. Let’s begin by exploring some fundamental skills that will elevate your drawings.
Hatching and Cross-Hatching
To create texture and shading in a colored pencil drawing, artists can master two fundamental techniques: hatching and cross-hatching. Hatching involves applying layered strokes of color to achieve depth and dimension. The direction of the strokes can be varied to indicate different textures or surfaces – for example, short, curved strokes might suggest smooth skin, while longer, more fluid strokes could represent flowing fabric.
Cross-hatching builds on this principle by layering hatching lines at different angles, creating a richly detailed appearance. This technique is particularly effective in depicting complex subjects like foliage or rock formations. By alternating the direction of cross-hatch strokes, artists can create intricate patterns and textures that add visual interest to their work. For instance, using fine, closely spaced lines for tree bark and broader, more expressive strokes for branches can help convey a sense of volume and depth.
Experimenting with different stroke styles and patterns is essential when mastering hatching and cross-hatching techniques.
Stippling and Pointillism
Stippling and pointillism are two drawing techniques that produce unique visual effects by using small dots of color. Stippling involves creating an image from a series of small dots, while pointillism uses tiny points to build up an entire picture. When applied correctly, these techniques can achieve remarkable results.
Stippling can be used to create detailed images, such as portraits or landscapes, where the dots can be carefully arranged to capture subtle textures and shading. Pointillism, on the other hand, is often associated with capturing light and color. By using small points of pure color, artists can build up a range of tonal values and achieve a sense of luminosity.
To practice stippling and pointillism, start by choosing a simple subject and selecting colored pencils that offer a range of values (light to dark). Begin by creating a loose outline with the lightest value first. Then, gradually add more dots or points in increasing density, using reference images or photographs for guidance. Experimenting with different paper textures can also enhance the overall effect.
Advanced Techniques and Effects
To take your colored pencil artistry to the next level, you’ll want to master techniques like layering, blending, and using subtle color gradations. These advanced methods will help create stunning visuals.
Blending and Gradations
To achieve seamless gradations and subtle transitions between hues, you’ll need to master the art of blending. This involves layering colors carefully to create smooth transitions from one shade to another. One technique is to use a tortillon or blending stump to softly merge colors together. These tools help to distribute pigment evenly, eliminating harsh lines and creating a more nuanced transition.
Another approach is to build up layers of transparent color, allowing each layer to dry before adding the next. This method works particularly well for creating soft, atmospheric effects. For example, you might start with a light underlayer of blue, followed by a mid-tone of green, and finally a darker layer of brown. By building up gradually, you can achieve rich, subtle gradations that would be difficult to achieve through other means.
Pay attention to color placement when blending. Often, the edges of colors blend more easily than the centers, so try placing similar shades side by side rather than directly on top of one another. This simple trick can help to create a more natural-looking transition between hues.
Burnishing and Smudging
Burnishing and smudging are two advanced techniques used to create rich, velvety textures and subtle shading in colored pencil drawings. Burnishing involves applying heavy pressure with a sharpener or a tortillon (a small tool specifically designed for burnishing) to build up layers of pigment. This process is often used to achieve deep, saturated colors and can also be used to create detailed patterns and textures.
When burnishing, it’s essential to use the correct amount of pressure and to work in gentle, even strokes. Over-burnishing can lead to muddying or discoloration, while under-burning may result in an uneven finish. To achieve optimal results, experiment with different tools and pressures on small test areas before applying them to your artwork.
Smudging is another technique used to create subtle shading and texture. It involves using a solvent, such as blending stumps or kneaded erasers, to gently lift the surface layer of pigment and reveal underlying layers. This creates a soft, hazy effect that can be used to add depth and atmosphere to your drawings. By combining burnishing and smudging techniques, you can achieve a wide range of effects and create truly unique, visually striking pieces with colored pencils.
Tips for Achieving Realism
To create a truly realistic piece, it’s essential to pay attention to texture and layering. We’ll explore some expert techniques to help you achieve stunning depth and dimension in your drawings.
Color Accuracy and Representation
When drawing with colored pencils, it’s essential to prioritize color accuracy and representation. This involves observing and capturing subtle nuances in natural colors, rather than relying on generic representations. Start by studying the colors of your subject matter – whether it’s a still life, landscape, or animal – and take note of the hues, saturation levels, and undertones.
Pay attention to how light interacts with color: observe how shadows deepen certain tones while highlights enhance others. Note the subtleties in skin tone, fabric texture, or leaf patterns. When capturing these nuances, use a range of colored pencil techniques such as layering, blending, and hatching.
To accurately represent colors, consider the medium’s limitations – for example, colored pencils often struggle with pure whites and deep blacks. Instead, focus on achieving a balance between subtle color gradations and expressive texture. Experiment with different brands and types of colored pencils to find those that best suit your style and subject matter. By refining your observation skills and adapting to the unique properties of colored pencils, you can achieve more accurate and engaging color representation in your drawings.
Rendering Texture and Pattern
To accurately depict texture and pattern using colored pencils, start by studying the subject matter. Observe the intricate details of the skin’s surface, the weave of fabric, or the rough bark of a tree. Note how different textures interact with light and color. For fine details like wrinkles or creases, use a fine-tip pencil to draw gentle lines that follow the contours of the subject.
When rendering patterns, consider the underlying structure. For example, in drawing a woven basket, focus on the individual strands rather than the overall shape. Use short strokes to suggest the texture and weave of the fibers. To create intricate designs, layer colors gradually, building up from light to dark. Experiment with different techniques like hatching or cross-hatching to achieve a range of values and textures.
Pay attention to color choice as well; some textures are naturally brighter or more muted than others. Practice drawing various patterns – geometric, organic, or abstract – using different pencil marks and strokes to achieve the desired effect. By paying close attention to texture and pattern, you can add depth and visual interest to your colored pencil drawings.
Conclusion
In conclusion, mastering the art of drawing with colored pencils requires patience, practice, and a willingness to experiment. By following the techniques and tips outlined in this comprehensive guide, artists can unlock their full creative potential and produce stunning works of art. Remember that color blending is key to achieving realistic textures and shading, so don’t be afraid to layer colors and blend them softly. Also, keep your pencils sharp and work on a variety of surfaces to achieve unique effects. The most important thing is to have fun and enjoy the process of creating.
As you continue to explore the world of colored pencil drawing, stay inspired by observing the world around you – from the vibrant hues of nature to the rich tones of urban landscapes. With dedication and persistence, your skills will grow, and you’ll be amazed at the beauty you can create with these versatile tools. So go ahead, pick up a set of colored pencils, and let your imagination run wild!
Frequently Asked Questions
Can I use colored pencils on any surface?
Yes, you can use colored pencils on most drawing surfaces, including paper, canvas, and even wood or fabric. However, it’s essential to choose a surface that won’t bleed or smudge excessively, as this can affect the final result.
How long does it take to achieve realistic results with colored pencils?
The time it takes to achieve realistic results depends on your skill level, practice, and dedication. With regular practice, you can develop the techniques and skills needed to create stunning artwork in a relatively short period. Start by focusing on basic techniques and gradually move on to more advanced methods.
What if I’m struggling with blending colors – what are some common mistakes to avoid?
One common mistake when blending colors is over-blending, which can result in an unnatural look. To avoid this, focus on subtle layering and use gentle strokes to merge colors rather than forcing them together. Additionally, make sure to work from light to dark, as this will help maintain the desired color relationships.
How do I know if a colored pencil is suitable for my specific project – what’s the difference between wax-based and oil-based pencils?
Wax-based pencils are generally softer and more prone to smudging, making them ideal for blending and creating subtle transitions. Oil-based pencils, on the other hand, have a harder consistency and are better suited for detailed work and fine lines. Consider the surface you’re working on and the desired effect when choosing between these two types.
Can I use colored pencils to create intricate patterns and designs – what are some tips for achieving fine details?
Yes, colored pencils can be used to create intricate patterns and designs. To achieve fine details, focus on using a sharp pencil and applying gentle pressure to avoid smudging or scratching the surface. Additionally, consider using blending stumps or solvents to refine your work and add subtle textures.

