
Getting started with ceramic painting can be intimidating, especially if you’re new to ceramics. You might find yourself overwhelmed by the variety of materials available and unsure where to begin. Choosing the right paint, understanding color theory, and achieving realistic effects can be daunting tasks for even the most enthusiastic beginner. However, with a little guidance, you’ll soon discover that ceramic painting is accessible to anyone. In this comprehensive guide, we’ll cover the essential tips and techniques necessary to create beautiful ceramics. We’ll walk through choosing the right materials, understanding color theory, and showcasing your work. By the end of this article, you’ll have gained the confidence to take on more complex projects and achieve realistic effects on your ceramics.
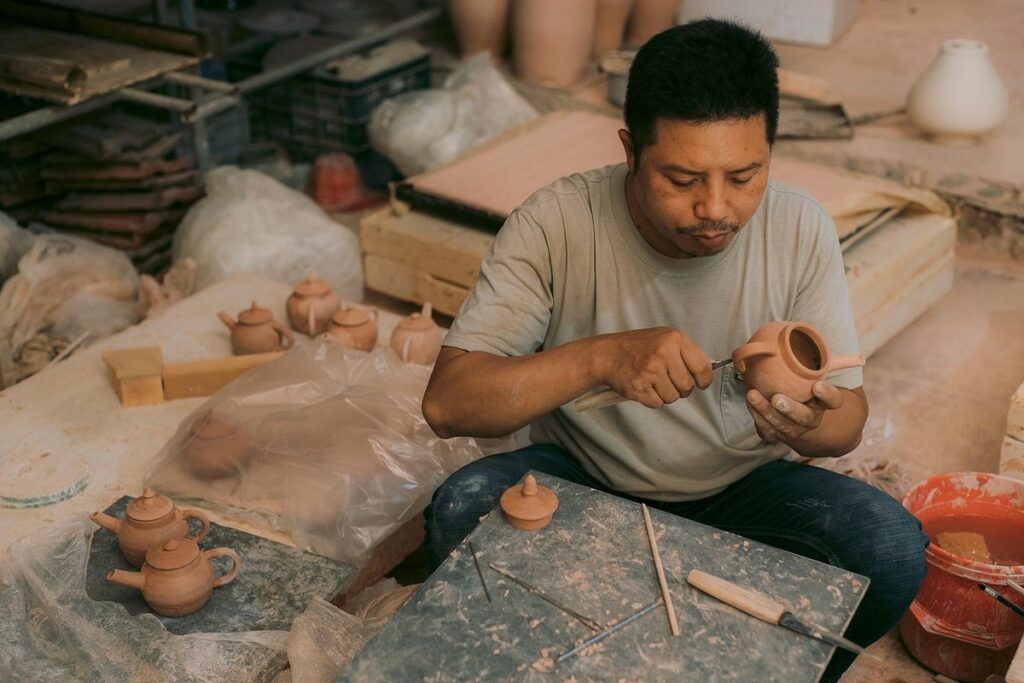
Getting Started with Ceramic Painting
To start creating beautiful ceramic pieces, you’ll first need to understand the basics of ceramic painting, including necessary materials and surface preparation. Let’s begin with the essentials.
Choosing the Right Materials
To get started with ceramic painting, you’ll need a few essential materials. The most obvious choice is the ceramics themselves, which can be bowls, plates, mugs, or figurines made of earthenware, stoneware, or porcelain. Look for pieces that are specifically designed for painting and have a smooth surface.
Next, you’ll need ceramic paints, which come in two main types: underglaze and overglaze. Underglazes are applied to the bare ceramic and then covered with clear glaze, while overglazes are applied on top of the initial glaze layer. Choose high-quality paints that are light-fast and durable.
A good set of brushes is also essential for achieving smooth, even strokes. Natural hair brushes work well for most techniques, but synthetic brushes can be a better choice for fine details. You’ll also need a palette or surface to mix your paints on, as well as a cup of water for thinning.
Other necessary tools and supplies include a kiln (if you plan to fire your pieces at home), a glaze calculator, and a dust mask when working with powders or glazes that contain silica. Don’t skimp on materials – investing in high-quality paints and ceramics will pay off in the long run by producing better results and longer-lasting pieces.
Understanding the Basics of Ceramic Painting Techniques
When working with ceramics, it’s essential to understand the fundamental techniques used in painting. Three primary methods are underglaze, overglaze, and slip trailing.
Underglaze involves applying a layer of color between the clay body and the glaze. This technique is ideal for creating bold, vibrant designs that can withstand high firing temperatures. You’ll need to use specialized underglaze pencils or brushes to apply the colors. Keep in mind that underglazes may require multiple firings to achieve the desired effect.
Overglaze techniques involve applying a layer of color on top of the glaze after it has been fired. This method is perfect for adding intricate details, textures, and patterns to your design. Overglaze paints come in a range of colors and consistencies, from fluid liquids to thick pastes.
Slip trailing involves using liquid clay (slip) to create decorative lines or designs on your piece. This technique is often used to add subtle texture and pattern to ceramics. You can use a piping bag or a slip trailer tool to apply the slip in various thicknesses and widths.
Setting Up a Workspace for Ceramic Painting
When working on ceramic painting projects, a dedicated workspace is crucial for both productivity and creativity. A cluttered and disorganized area can be overwhelming and make it difficult to focus on your art. Start by designating a specific area of your home or studio as your ceramic painting space. This will help you establish a routine and maintain a clean and safe working environment.
To organize your materials, consider investing in storage bins, shelves, or cabinets specifically designed for arts and crafts supplies. Label each container to ensure that you can easily find the tools and materials you need when working on a project. A good work surface is also essential – look for a sturdy table or countertop made of a durable material like wood or metal.
In addition to a functional workspace, maintain a clean environment by washing your brushes regularly and wiping down surfaces with a damp cloth. This will prevent the spread of bacteria and other contaminants that can damage your ceramics. By establishing a dedicated workspace and maintaining a clean and organized area, you’ll be able to focus on creating beautiful ceramic pieces without distractions or interruptions.
Design Inspiration for Beginner Ceramic Painters
For those just starting out, finding design inspiration can be a challenge. Here we’ll share some creative ideas to spark your imagination and get you started on your ceramic painting journey.
Exploring Nature-Inspired Designs
When exploring nature-inspired designs in ceramic painting, beginners can draw from a vast array of natural elements. Flowers, leaves, and branches are popular choices for their intricate details and organic shapes. To capture the essence of these elements on ceramics, start by studying photographs or real-life observations to get a sense of texture, color, and pattern.
Consider using techniques like sgraffito or underglazing to achieve subtle shading and dimensionality. Sgraffito involves scratching through layers of glaze to reveal underlying colors, while underglazing allows for the application of multiple layers of transparent color. For example, you can use a combination of yellow ochre and ultramarine blue to create a soft, gradient-like effect reminiscent of sunset hues.
To simplify the process, focus on capturing the essence rather than trying to replicate every detail. Use loose brushstrokes or gentle stippling to convey texture and movement in leaves and branches. When painting flowers, emphasize their overall shape and color palette rather than individual petals. By distilling natural forms down to their most essential elements, you can create striking, nature-inspired designs that feel both authentic and accessible.
Unleashing Your Creativity with Whimsical Designs
Whimsical designs are perfect for beginners who want to unleash their creativity and create playful pieces. These designs often feature cartoon characters, abstract shapes, or other unique elements that can add a touch of personality to ceramics.
When incorporating whimsical designs into ceramic painting projects, consider using bold colors and simple shapes. This will help you achieve the desired level of visual interest without getting overwhelmed by intricate details. For example, you could paint a bright blue cat with yellow ears on a small plate or mug.
To get started, think about your favorite cartoons, movies, or TV shows. Can you recreate a beloved character in ceramic form? Or perhaps you’d like to create an abstract design inspired by nature – think swirling clouds, blooming flowers, or wavy ocean waves. You can also experiment with different materials and textures to add depth and visual interest.
Some great ways to incorporate whimsy into your designs include using stencils or stamps to add patterns, trying out hand-painted details like polka dots or stripes, or experimenting with unique glaze techniques to create marbled effects.
Techniques for Achieving Realistic Effects in Ceramic Painting
Achieving realistic effects in ceramic painting can be a challenge, but mastering some key techniques will take your pieces to the next level. With practice and patience, you’ll be able to create stunning, lifelike details on your ceramics.
Mastering Color Theory
When painting ceramics, color theory is crucial to creating realistic and visually appealing pieces. At its core, color theory involves understanding how colors interact with each other to produce harmonious effects. In ceramic painting, this means choosing colors that not only complement the subject matter but also create a sense of balance and cohesion.
To apply color theory in ceramic painting, start by selecting a dominant color that reflects the subject’s tone or mood. For example, when painting a landscape, choose earthy tones like sienna or umber for a natural look. Balance warm colors with cool ones to prevent the piece from feeling too intense or overwhelming. When creating realistic skin tones, use a combination of pink and yellow undertones to achieve a natural-looking complexion.
For landscapes and still-life compositions, consider the 60-30-10 rule: divide your palette into 60% dominant color, 30% secondary color, and 10% accent color. This will help you create depth and visual interest without overwhelming the viewer. By mastering these basic principles of color theory, beginners can take their ceramic painting skills to the next level and produce stunning pieces that showcase their creativity and skill.
Using Glazes and Underglazes for Realistic Effects
When working to achieve realistic effects in ceramic painting, glazes and underglazes are versatile tools to have in your arsenal. Glazes, for instance, can be used to create subtle nuances in color by adding a thin layer of transparent or opaque material over the existing paintwork. This is particularly effective when aiming for soft, watercolor-like washes or when attempting to capture the delicate sheen on certain surfaces.
Underglazes, meanwhile, allow you to build up rich, deep colors beneath the surface of your piece. By applying multiple thin layers of underglaze and allowing each layer to dry before adding the next, you can achieve intricate, multi-tonal effects that might be difficult or impossible to attain with a single coat of paint.
Some common techniques for using glazes and underglazes include layering, blending, and gradating. When layering, apply successive coats of glaze or underglaze in thin layers, allowing each to dry before adding the next. Blending involves mixing different colors together to create unique shades and hues, while grading refers to transitioning smoothly from one color to another.
Tips and Tricks for Improving Your Ceramic Painting Skills
As you continue to practice and refine your ceramic painting skills, it’s time to take them to the next level with expert tips and techniques that will elevate your art. From color mixing to brushstrokes, we’ve got the inside scoop.
Practicing Consistency and Patience
To improve your ceramic painting skills, it’s essential to practice consistency and patience. Setting realistic goals is crucial – don’t try to tackle too many complex designs at once. Start with simple projects and gradually increase the difficulty level as you become more confident.
Track your progress by taking photos of your work or keeping a journal of your experiences. This will help you identify areas that need improvement and provide motivation when faced with setbacks. Celebrate small victories along the way – completing a challenging piece or mastering a new technique can be a great confidence booster.
Maintaining motivation is also vital. Remind yourself why you started ceramic painting in the first place, whether it’s for relaxation, creativity, or as a hobby. Joining online communities or local ceramic groups can provide valuable support and inspiration from fellow artists. By setting achievable goals, tracking your progress, and staying motivated, you’ll see significant improvements in your skills over time.
To avoid frustration, focus on the process rather than perfection. Practice regularly, even if it’s just for a short period each day – consistency is key to developing muscle memory and fine-tuning your techniques. With patience and persistence, you’ll be able to create stunning ceramic pieces that showcase your unique style and creativity.
Overcoming Common Mistakes in Ceramic Painting
Uneven glazing can completely ruin a piece of ceramic art. This often occurs when the painter applies too much glaze to an area, resulting in a thick, glossy patch. To avoid this mistake, try applying thin layers of glaze and allowing each layer to dry before adding more. This will prevent pooling and ensure a smooth finish.
Incorrect firing techniques are another common issue beginners face. Make sure you understand the specific temperature requirements for your ceramics, as underfiring can cause cracks or discoloration while overfiring can lead to warping. Consult your kiln’s user manual or research online resources for guidance on firing schedules and temperatures.
Inadequate drying times can also cause problems. Ceramic pieces need sufficient time to dry before they’re fired, otherwise, the glaze may not adhere properly. Typically, this means allowing them to air-dry for 24-48 hours, depending on the thickness of the piece and the type of clay used.
To correct uneven glazing, you can try using a brush to gently scrape off excess glaze or apply a glaze remover. For incorrect firing techniques, inspect your pieces carefully after firing, looking for signs of underfiring or overfiring such as cracks, warping, or discoloration.
Showcasing Your Work: Displaying and Sharing Your Ceramics
Now that you’ve created your beautiful ceramic pieces, it’s time to showcase them and share their uniqueness with others. This is where displaying and sharing comes into play!
Preparing Your Pieces for Display
When you’re finished with a ceramic piece, it’s time to think about how you’ll display and protect it. Cleaning is a crucial step: gently wash off any dust or debris with mild soap and water, but avoid using harsh chemicals that can damage the glaze or underlying clay. To prevent chipping or cracking, handle your ceramics carefully – support their base when moving them, and never lift by the handles.
Proper storage is also essential. Store your finished pieces in a dry, cool place away from direct sunlight. Avoid stacking or overcrowding, as this can cause pressure points that lead to damage. If you need to transport your ceramics, use bubble wrap or foam inserts to cushion them during transit.
To ensure your pieces remain in great condition over time, consider applying a clear glaze sealant. This helps protect against scratches and spills, making maintenance easier down the line. Regularly inspect your ceramics for any signs of damage or wear – address issues promptly to prevent further harm.
Sharing Your Creations with Others: Online Communities and Local Events
Connecting with fellow artists and sharing your ceramic creations can be a fantastic way to gain feedback, learn new techniques, and stay motivated. Online communities are an excellent place to start. Join social media groups dedicated to ceramics or pottery, where you can share photos of your work and engage in discussions about various topics, from glazing techniques to design inspiration.
Some popular online forums for ceramic enthusiasts include Facebook groups, Reddit’s r/pottery community, and specialized websites like Ceramic Arts Network. When sharing your work online, be prepared to receive constructive feedback – use this as an opportunity to learn and improve your skills.
Local art events, such as pottery sales, exhibitions, or workshops, offer another chance to showcase your creations and connect with other artists in person. Consider participating in local craft fairs or art markets to sell your pieces and gain exposure. Don’t be afraid to approach experienced artists and ask for advice – they may be willing to share their expertise and provide valuable insights into the ceramic painting process.
Advanced Techniques for Experienced Ceramic Painters
As you become more confident in your skills, it’s time to take on new challenges and push the boundaries of what’s possible with ceramic painting. This advanced techniques section will guide you through expert-level ideas and methods.
Exploring Multi-Color Techniques
When working with multi-color techniques, experienced ceramic painters can create intricate patterns and detailed images by carefully selecting and mixing colors. This involves understanding color theory principles, such as complementary and analogous color schemes, to achieve harmonious and visually appealing designs.
To begin, it’s essential to have a good understanding of the properties of different glazes and underglazes. For example, matte glazes can create subtle, soft effects, while glossy glazes produce more vibrant, reflective finishes. By combining these glazes in specific ways, you can achieve a range of textures and tones.
One technique for creating intricate patterns is to use a combination of underglaze pencils and small brushes to add fine details and lines. Another approach is to apply multiple layers of transparent glazes to build up complex colors and textures. When working with multi-color techniques, it’s also crucial to consider the firing process and how different temperatures will affect the final result.
To get started, try experimenting with simple layering techniques using two or three contrasting colors. Remember to test your materials and firing schedule carefully before attempting more complex designs.
Experimenting with Kiln Firing and Slip Trailing
When experimenting with kiln firing and slip trailing, experienced ceramic painters can achieve unique textures and effects by pushing the boundaries of traditional techniques. Kiln firing involves heating ceramics to a high temperature, often in a controlled environment, to melt glazes and fuse them to the surface. This process can create vibrant colors, glossy finishes, and intricate details.
To experiment with kiln firing, consider playing with different temperature ranges, firing schedules, and glaze combinations. For example, you might try layering multiple glazes or using a clear glaze over a colored one to achieve a sense of depth. When working with slip trailing, focus on mastering the flow and consistency of your slip, as this will greatly impact the final result.
A key consideration when combining kiln firing and slip trailing is the timing of each process. Typically, you’ll apply the slip trails before the final firing, allowing them to set into place during the high-temperature treatment. To add an extra layer of interest, try applying glaze over the slip trails after they’ve been fired – this can create a stunning contrast between smooth and textured areas.
Conclusion: Continuing Your Ceramic Painting Journey
As you’ve completed your first ceramic painting project, it’s time to think about what’s next and how you can continue developing your skills. This final section will offer guidance on taking your passion to the next level.
Reflecting on Progress and Setting New Goals
As you complete your first few projects and gain confidence in your ceramic painting skills, take a moment to reflect on what you’ve learned. Consider how far you’ve come since starting out – from understanding basic techniques to experimenting with new designs and effects. Acknowledge the challenges you’ve overcome, such as mastering color theory or using glazes and underglazes.
Now, think about where you’d like your ceramic painting journey to take you next. What new skills do you want to acquire? Are there specific styles or themes you’re eager to explore? Perhaps you’ve always been fascinated by the way light interacts with texture – in that case, consider experimenting with techniques for capturing realistic highlights and shadows.
To stay motivated and continue learning, make a conscious effort to expose yourself to new ideas and inspiration. Follow ceramic artists on social media, attend local workshops or classes, or join online communities where you can share your work and get feedback from others. You might also try setting aside dedicated time each week for practice and experimentation – this will help you stay focused and ensure that you make progress towards your goals.
Remember, the journey of a ceramic painter is not about reaching some mythical “expert” level, but rather about continually pushing yourself to grow and explore new possibilities. Set realistic yet challenging targets for yourself, such as mastering a specific technique or completing a particularly complex design. By doing so, you’ll be able to track your progress and feel a sense of accomplishment with each new achievement.
Frequently Asked Questions
Can I use ceramic paints on unglazed ceramics?
Yes. Ceramic paints can be applied directly to unglazed ceramics, but make sure the surface is clean and dry. However, keep in mind that some paints may require a primer or undercoat for optimal adhesion.
How long does it take to achieve realistic skin tones with ceramic painting?
Achieving realistic skin tones requires practice and patience. With consistent effort, you can develop the skills needed to create lifelike skin tones within 3-6 months of regular practice. Focus on mastering color theory and experimenting with different techniques to improve your results.
Can I use household items as a workspace for ceramic painting?
While it may be tempting to use household items as a workspace, avoid using surfaces that are not specifically designed for ceramics or painting. This can lead to uneven glazing, incorrect firing techniques, or inadequate drying times. Invest in a dedicated workspace with proper ventilation and storage.
What if I accidentally apply too much paint or underglaze? Can it be corrected?
Yes. If you’ve applied too much paint or underglaze, try gently scraping off the excess with a soft brush or sponge before applying additional coats. Avoid using harsh chemicals or abrasive materials that can damage the ceramic surface.
How do I display my ceramics without damaging them?
To protect your finished pieces from damage, start by cleaning and dusting them regularly. Use acid-free tissue paper or cotton gloves to handle your ceramics, and avoid placing them near direct sunlight or extreme temperatures. Consider using a display case or cabinet with a UV-filtering glass to preserve their beauty over time.

