
Sketching is an essential skill that can improve your observation skills, visual memory, and problem-solving abilities. Many people believe that drawing requires a natural talent, but in reality, it’s more about understanding the basics and practicing regularly. With the right tools and techniques, anyone can learn to sketch effectively. This comprehensive guide will cover the fundamentals of sketching, including the essential tools you’ll need, basic techniques such as line work and shading, and how to observe and capture your subject accurately. By mastering these basics, you’ll be able to improve your drawing skills and develop a more critical eye for detail. By the end of this article, you’ll have a solid understanding of the basics of sketching and will be able to start creating simple sketches with confidence.
Understanding the Basics of Sketching
Sketching is a fundamental skill that requires a solid foundation, and understanding its basic principles will help you create confident and expressive artwork. Let’s start with the basics: learning how to hold a pencil and capture simple shapes.
What is Sketching?
Sketching is an art skill that allows you to capture the essence of a subject quickly and effortlessly. It involves creating loose drawings that convey the shape, form, and character of an object or scene. To sketch effectively, you need to combine observation with creativity. Observation helps you study the subject’s proportions, lines, textures, and other visual elements, while creativity allows you to interpret and express those observations in your own unique way.
When sketching, it’s essential to focus on capturing the overall shape and structure of the subject rather than getting bogged down in details. This is where practice comes in – the more you sketch, the more comfortable you’ll become with observing and translating what you see onto paper. As you begin to develop your skills, try setting a timer for short intervals (say 5-10 minutes) and challenge yourself to create a simple sketch within that time frame.
Importance of Sketching in Art and Design
Sketching is a fundamental skill that benefits artists and designers in numerous ways. By regularly practicing sketching, you can improve your observational skills, allowing you to capture the essence of a subject or scene more accurately. This involves paying attention to proportions, shapes, textures, and other visual elements.
Developing your visual memory through sketching enables you to recall and recreate subjects from memory with greater ease. This skill is particularly valuable for designers who need to visualize ideas and communicate them effectively to clients. When creating new designs, being able to recall reference images or scenes can help guide the creative process.
Furthermore, sketching enhances problem-solving abilities by encouraging experimentation and critical thinking. As you practice rendering different subjects and techniques, you’ll develop an understanding of what works and what doesn’t, allowing you to adapt and refine your approach accordingly. By incorporating regular sketching into your routine, you’ll cultivate a more intuitive sense of composition, form, and balance – essential qualities for creating effective artwork or designs.
Choosing the Right Tools for Sketching
The right tools can make all the difference in your sketching journey, so let’s take a closer look at the essential items you’ll need to get started. We’ll cover the basics of choosing the best pencils, erasers, and papers for your sketches.
Types of Pencils and Their Uses
Graphite pencils are a popular choice for sketching due to their versatility and range of values. Soft pencils (B, 2B, 4B) produce dark, expressive lines, while hard pencils (H, 2H, 4H) create lighter, more detailed work. Graphite pencils also come in various hardness levels (HB, F, H), allowing you to achieve a range of tonal values.
Charcoal sticks are another essential tool for sketching, particularly for capturing bold lines and textures. Vine charcoal is soft and easy to blend, while compressed charcoal provides more control and detail. Charcoal can be messy, but it’s ideal for creating dynamic, expressive sketches.
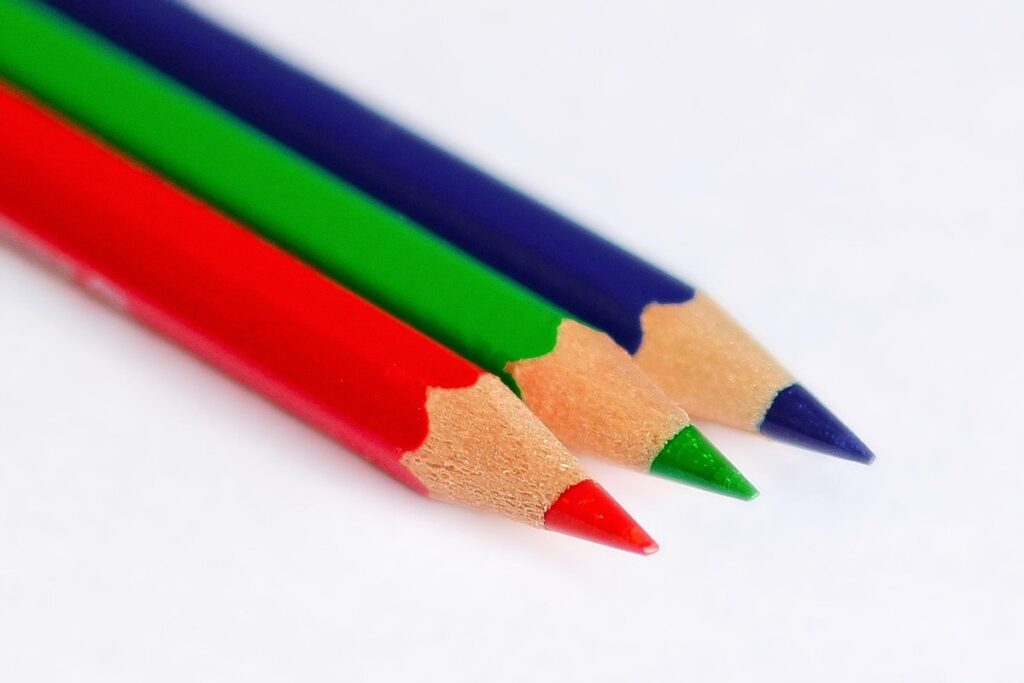
Colored pencils are also used in sketching, especially for adding color and depth to your work. They come in a wide range of colors and often have built-in blending capabilities. However, they’re typically slower to use than graphite or charcoal due to the need to layer colors carefully.
When choosing between these tools, consider the type of effect you want to achieve. If you prefer smooth lines and subtle gradations, graphite pencils might be your best bet. For more dramatic, expressive work, try using charcoal sticks.
Erasers and Sharpeners: The Essential Accessories
A good eraser is essential for correcting mistakes and creating smooth transitions between lines. Look for a kneaded eraser, which can be molded to fit comfortably in your hand and applied with precision. The softer variety, typically pink or white, is best suited for gentle corrections on toned paper.
For more robust removal of graphite marks, opt for a white vinegar eraser or a regular yellow eraser. These types are less likely to smudge surrounding areas and can be used with confidence on most sketching surfaces.
A sharpener is also crucial in maintaining the performance of your pencils. Choose one that suits your specific needs: a compact handheld sharpener for everyday use, or a desktop model for bulk sharpening. When selecting a sharpener, consider the type of lead it can accommodate and its ability to produce a clean cut without producing excessive dust.
Investing in quality erasers and sharpeners may seem like an unnecessary expense, but their impact on your sketching experience is undeniable. A reliable eraser and sharpener will allow you to work with confidence, making corrections and achieving the desired line quality more efficiently.
Basic Sketching Techniques
To get started, let’s cover some essential sketching techniques that will help you capture the basics of shape and form. These fundamental skills are the building blocks of any good drawing.
Gesture Drawing
Gesture drawing is a fundamental technique that helps you capture the essence of a subject. It involves quickly observing and sketching the overall pose, movement, and gesture of an object or person. This exercise is excellent for practicing observation and drawing the essentials, rather than focusing on details.
To practice gesture drawing, start by setting a timer for 1-2 minutes. Choose a still life setup or a model with an interesting pose. Then, quickly sketch the overall shape, movement lines, and contours of your subject without worrying about proportions or details. Use simple shapes to block out the main areas of your subject.
Aim to capture the energy and movement in your gesture drawing rather than trying to create a precise representation. Pay attention to where the weight is transferred from one limb to another, how the body is twisted, or how the lines of the pose flow. Focus on the overall flow of movement and ignore minor details for now. With practice, you’ll improve your ability to quickly capture the essence of a subject in a gesture drawing.
Contour Drawing
Contour drawing is a fundamental technique that helps you develop essential observation and attention-to-detail skills. It involves accurately tracing the outline and shape of an object or subject without filling in any details. This exercise requires patience, as it’s easy to get caught up in trying to draw everything at once.
Start by looking carefully at your subject – observe its contours, noting how they curve and bend. Focus on one area at a time, using gentle lines to follow the shape of the object. You can use a range of tools for contour drawing, including pencils, pens, or even charcoal sticks. The goal is not to create a perfect replica but rather to capture the essence of your subject’s outline.
To practice contour drawing effectively, try working from different angles and with various subjects – still-life compositions, landscapes, or even simple household objects work well. As you focus on accurately tracing outlines, pay attention to subtle variations in shape and texture, which will help refine your understanding of proportions and form.
Understanding Proportion and Measurement
When it comes to creating convincing sketches, understanding how to accurately represent proportions and measurements is crucial. This is where we’ll explore the basics of proportion and measurement in drawing.
Measuring Techniques for Accurate Proportions
When measuring proportions, it’s essential to be accurate to create a believable and realistic sketch. Using a ruler is one of the simplest methods, allowing you to measure the width and length of objects with precision. However, relying solely on a ruler may lead to inaccuracies due to its limitations.
A proportion grid can also help you achieve more accurate measurements. This tool allows you to create a grid system on your paper that matches the proportions of the subject you’re drawing. By placing the object’s dimensions within this grid, you’ll ensure that your sketch is proportional and realistic.
Another technique to keep in mind is the ‘measure twice’ method. When measuring the length or width of an object, take two separate measurements to confirm accuracy. This might seem time-consuming, but it significantly reduces errors. For example, when drawing a building, measure the height of the doorframe once, then verify this measurement before proceeding with your sketch.
Applying Proportions in Different Types of Sketches
When sketching from life or memory, it’s essential to understand how proportions work. This means recognizing that different types of sketches have distinct proportion requirements. For instance, a quick gesture sketch might focus on capturing the overall pose and movement of a subject, whereas a more detailed drawing would require precise measurement and proportion.
To apply proportions in your sketches, consider the type of sketch you’re creating. If it’s a simple gesture study, aim to capture the essence of the subject rather than striving for perfect proportion. However, if you’re working on a more detailed piece, take the time to measure and accurately represent the relationships between different body parts.
Practice applying proportions in various sketches by experimenting with different subjects and techniques. Try sketching the same object or person using different mediums, such as charcoal or ink, to see how proportion is affected. By honing your skills in this area, you’ll be able to create more realistic and accurate sketches that effectively convey your intended message.
Advanced Sketching Techniques
Now that you’ve mastered the basics, it’s time to take your sketching skills to the next level by learning advanced techniques that add depth and emotion to your artwork. We’ll explore expert methods for capturing light and shadow.
Value and Shading
Value and shading are fundamental elements that bring drawings to life. Effective use of hatching, cross-hatching, and stippling techniques can create depth and dimension in sketches. Hatching involves closely spaced parallel lines that follow the contours of an object, creating a soft, gradual transition between values.
To practice hatching, start with simple subjects like fruit or household objects. Pay attention to how light falls on the surface – observe where shadows fall deepest and brightest areas reflect most light. For cross-hatching, layer hatching lines at different angles to create more defined shading. The interplay of lines produces a nuanced range of values.
Stippling involves creating an image using small dots of varying size. This technique is ideal for capturing high-contrast scenes or textures. When stippling, focus on gradual transitions between light and dark areas – avoid abrupt shifts in value. A stipple grid can help you achieve even spacing and consistent dot sizes. By mastering these fundamental techniques, you’ll be able to add depth and dimension to your sketches, making them more engaging and realistic.
Atmospheric Perspective and Texture
Atmospheric perspective is a fundamental aspect of creating convincing and realistic sketches. It refers to the way objects appear to fade into the distance due to atmospheric conditions such as haze, fog, or dust. This phenomenon occurs because particles in the air scatter light, making objects less visible as they recede from the viewer’s eye.
To achieve atmospheric perspective in your sketching, focus on softening and blurring edges of distant objects. Use gentle, sweeping strokes with a range of values to convey depth. For example, consider depicting a landscape with a mountain range in the background – use softer pencils or blending stumps to merge the peaks into the sky.
Adding texture to your sketches can also enhance realism and interest. Incorporate subtle textures to suggest the materiality of objects, such as rough stone, smooth wood, or soft fabric. Use hatching techniques to create tactile sensations, like the ridges on a tree bark or the folds in clothing. Pay attention to areas where textures intersect, as these points can add visual interest and depth to your sketch.
Sketching from Observation vs. Reference Images
When it comes to sketching, knowing how to draw from observation versus reference images is crucial for developing your skills and capturing the essence of a subject.
Understanding the difference between these two techniques will help you determine which method best suits the piece you’re working on.
The Benefits of Drawing from Life
Drawing from life is a fundamental aspect of sketching that offers numerous benefits to beginners. By directly observing a subject, you improve your observation skills, which are essential for capturing the essence of what you see on paper. When drawing from life, you develop your ability to notice and record subtle details, such as the way light falls on a subject or the texture of its surface.
This exercise also increases creativity by allowing you to respond to what’s in front of you without preconceptions. For example, if you’re sketching a still life, you might notice the way the vase is placed or the play of shadows on the tablecloth. These observations can inspire new and unexpected compositions that wouldn’t have occurred to you otherwise.
To get the most out of drawing from life, it’s essential to approach each session with an open mind. Don’t worry about creating a perfect representation; focus on capturing the essence of what you see. Experiment with different media and techniques to find what works best for you. With regular practice, drawing from life will become second nature, allowing you to observe and record the world around you with greater accuracy and creativity.
Using Reference Images in Your Sketching Practice
When using reference images, it’s essential to distinguish between copying and using them as a guide. Placing too much emphasis on reproducing every detail can lead to stiffness and a lack of expression in your drawings. Instead, use reference images to capture the essence of a subject by identifying key features that you want to convey.
For example, when sketching an animal from a photograph, focus on capturing its posture, texture, and proportions. You may choose to study the way light falls on its fur or observe how it interacts with its environment. This approach will help you create more dynamic drawings that don’t rely too heavily on precise accuracy.
To effectively use reference images, try to replicate only what’s necessary for your drawing, rather than every detail from the photograph. You can also experiment by combining elements from multiple references to create a more nuanced and original piece. By adopting this mindset, you’ll learn how to extract essential information from reference images and apply it to enhance your sketching practice.
Putting it All Together: Tips for Improving Your Sketching Skills
Now that you’ve mastered the basics, let’s talk about how to bring your sketches to life with practice and patience. With these expert tips, you’ll be well on your way to creating stunning pieces of art.
Setting Up a Regular Sketching Routine
To improve your sketching skills, it’s essential to establish a regular practice routine. This means setting aside time each day or week to dedicate solely to sketching. Start by committing to 15-30 minutes of daily practice, which can be broken down into shorter sessions if needed. For example, you might spend 10 minutes in the morning observing and gesturing, followed by 20 minutes of focused drawing.
Choose a consistent time slot that works for your schedule, such as right after breakfast or before bed. Consistency is key to developing muscle memory and improving technique. Identify a quiet space with good lighting where you can focus without distractions. Having a dedicated sketching area will help you stay motivated and committed to your routine.
Regular practice also means experimenting with different mediums, techniques, and subjects. Try drawing from life, using reference images, or practicing gesture drawings to keep your skills sharp. Review your progress regularly, whether it’s weekly, bi-weekly, or monthly, to see how far you’ve come and identify areas for improvement. By establishing a regular routine and committing to consistent practice, you’ll be well on your way to improving your sketching skills.
Common Mistakes to Avoid in Sketching
Inaccurate proportions can be a major issue when it comes to sketching. To avoid this, pay attention to the relative sizes of objects and make sure they are in proportion to one another. For example, if you’re drawing a building, double-check that the windows and doors are proportional to the rest of the structure.
Poor line work is another common mistake. This can include uneven or wobbly lines, or inconsistent weight and texture. To improve your line work, practice varying the thickness and consistency of your lines in simple exercises like drawing different types of brushes or scribbling with a variety of tools.
In addition to proportions and line work, avoid over-correcting as you draw. This can lead to smudged or erased marks that are difficult to fix later on. If you make a mistake while sketching, try to catch it early and correct it gently, rather than scrubbing out the entire area and starting over.
By being mindful of these common mistakes and making an effort to correct them in your future sketches, you can improve the overall quality and accuracy of your drawings.
Frequently Asked Questions
How often should I practice sketching to see improvement?
Yes, consistent effort is key to improving your sketching skills. Set aside a specific time each day or week and commit to regular practice. Start with short sessions (15-30 minutes) and gradually increase the duration as you become more comfortable with the techniques.
What if my sketches don’t look like anything I see in real life?
No, it’s normal for your initial sketches to not resemble reality. Sketching is a skill that takes time to develop, and it’s essential to be patient with yourself. Focus on capturing the essence of an object or scene rather than trying to create a perfect replica.
How can I effectively use reference images in my sketching practice?
When using reference images, focus on observing and studying the subject rather than simply tracing its outline. Practice drawing from memory after observing the image, then compare your results with the original to identify areas for improvement.
Can I teach myself to draw realistically through online tutorials and videos?
While online resources can provide valuable guidance, they often lack personalized feedback and human interaction. Consider joining a local art class or working with a mentor who can offer hands-on guidance and constructive criticism.
What if my drawings lack depth and dimension due to poor value and shading skills?
Value and shading are critical elements in creating realistic sketches. Practice different techniques, such as hatching, cross-hatching, and stippling, to achieve depth and dimension in your drawings. Experiment with various tools and materials to find what works best for you.

